2016-03-04
In a previous post*, I mentioned the idea of Custom Experience Buttons. In this post I thought I would take a closer look at how to implement one.
Sitecore supports FieldRenders for fields such as rich text, single-line text image and general link, however, other fields such as droplists, treelists, multilists, etc. are not easily represented in Experience Editor mode.
In the screenshot below, you can see that my Reference Component allows for the editing of the title field directly inline. However, the datasource of the component also contains a reference field called Reference items which is not editable inline.

Out of the box, the easiest way to get to this field is to either go to the content editor or use the Edit the related item option under the More drop-down. Both options are more cumbersome than necessary. Here's how you can create a custom button directly in the menu in the illustration above.
1) Switch to the Core database.
2) Navigate to: /sitecore/content/Applications/WebEdit/Custom Experience Buttons
3) Create a new item based on the following template: /sitecore/templates/System/WebEdit/Field Editor Button
4) Fill in the information as illustrated in the screenshot below. Most importantly fill in the Fields field with the name of the fields you want to expose.

5) Now that the custom button has been created, switch back to the Master database.
6) Find the sublayout for your component and find the Experience Editor Buttons field.
7) Select the button you just created and save.

8) Return to page editor mode and look at the menu of your component, you will find your new button is now available.

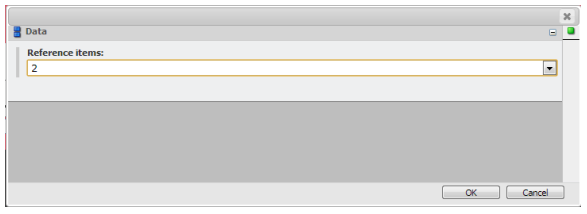
9) Clicking on the button allows you to edit the field referenced in your button.

I hope this helps you out the next time you are trying to improve your content author experience.
*Take a look at my previous post here.


