septembre 03, 2018
Personalization is the method for displaying targeted and relevant content to website visitors based on different characteristics like location, age, visits, etc.. There are several rules available out of the box in Sitecore which can be leveraged to personalize web pages.
 It is also possible that we have to build and create custom personalization rules to support certain business requirements, Sitecore architecture is flexible enough to support this scenario and can be extended to implement custom rules based on the requirement.
As part of this post, I would like to show how we can extend and build custom personalization rules. We will take an example of creating a custom rule where based on querystring parameter value how we can display different content to our site visitors.
Let’s take an example where we would like to show website visitor component-1 when user search for keyword=”content” and show component-2 when user search for keyword “management”.

Here are the steps to follow:
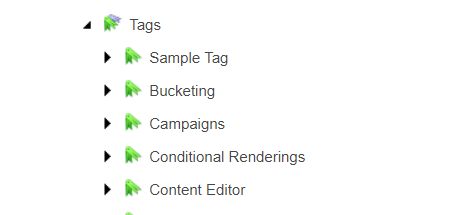
Step 1- First step is to create a new tag for our Custom rule under “/sitecore/system/Settings/Rules/Definitions/Tags” based on template- “/sitecore/templates/System/Rules/Taxonomy/Tag”
Step 2- Next- create custom Element and personalization condition under “/sitecore/system/Settings/Rules/Definitions/Elements”

As part of personalization condition there are two fields to populate:
- Text–
- It shows text that would be presented to content editors when using this condition with Rules Engine, this is what we have used in this example-
-
Where the querystring parameter search has a value that [operatorid,StringOperator,,compares to] [querystringvalue,,,Value]
- Everything under square brackets [] would be replaced by Rules Enging as selectors.
- Type–
- Type specifies fully qualified class and assembly names where we want to write/perform the business rule for the custom personalization condition.
Step 3- Next step is to assign custom tag which we created in step#1 to default element tag definition.

Step 4- Next, we would need to add this tag to conditional rendering such that this new rule is available in the rule editor for content editors to personalize the components. Please make sure to name your tags and custom elements self explanatory as much as possible for better content editors experience.

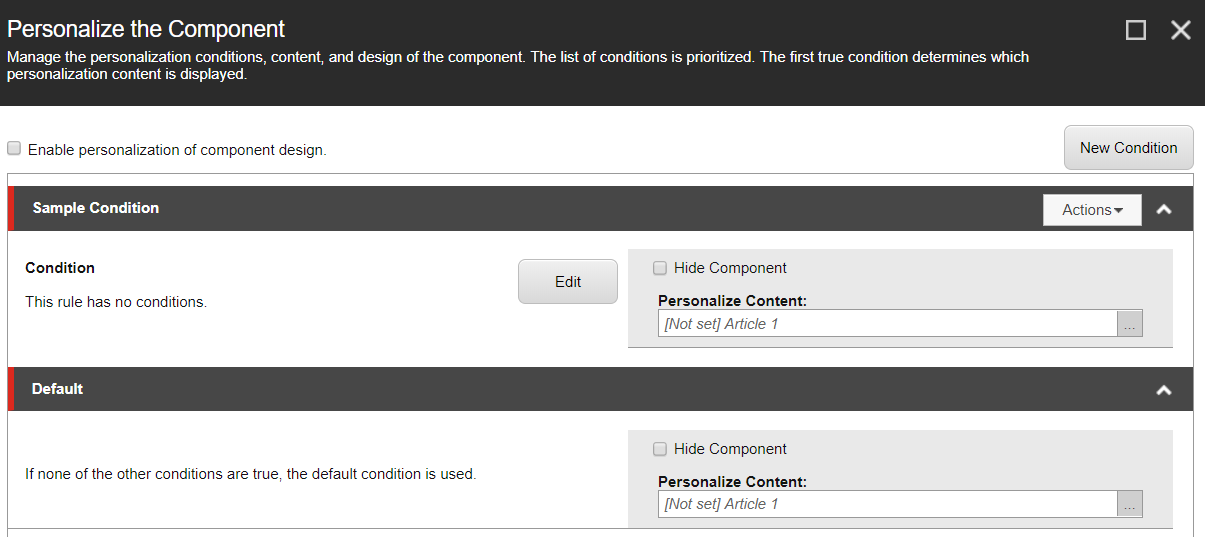
Step 5- Once all the above changes are made, content/business editors can configure this rule to personalize the components from experience editor or content editor from presentation->Personalize section.

In the below code snippet we can see that we have created a class SCCustomRule which inherits StringOperatorCondition class and override Execute(T ruleContext) method -as we are trying to compare the querystring value of what has been configured in the rule editor and what has been actually entered by end user.
If the parameter values matches the rule is satisfied and the personalized component will be displayed else it would display the default component.

Similarly we can create other custom rules to show more relevant and targeted content to our end users based on how they have interacted and what details they have stored in the system (internal/external)
Hope this helps.
Happy learning!


