15. September 2020
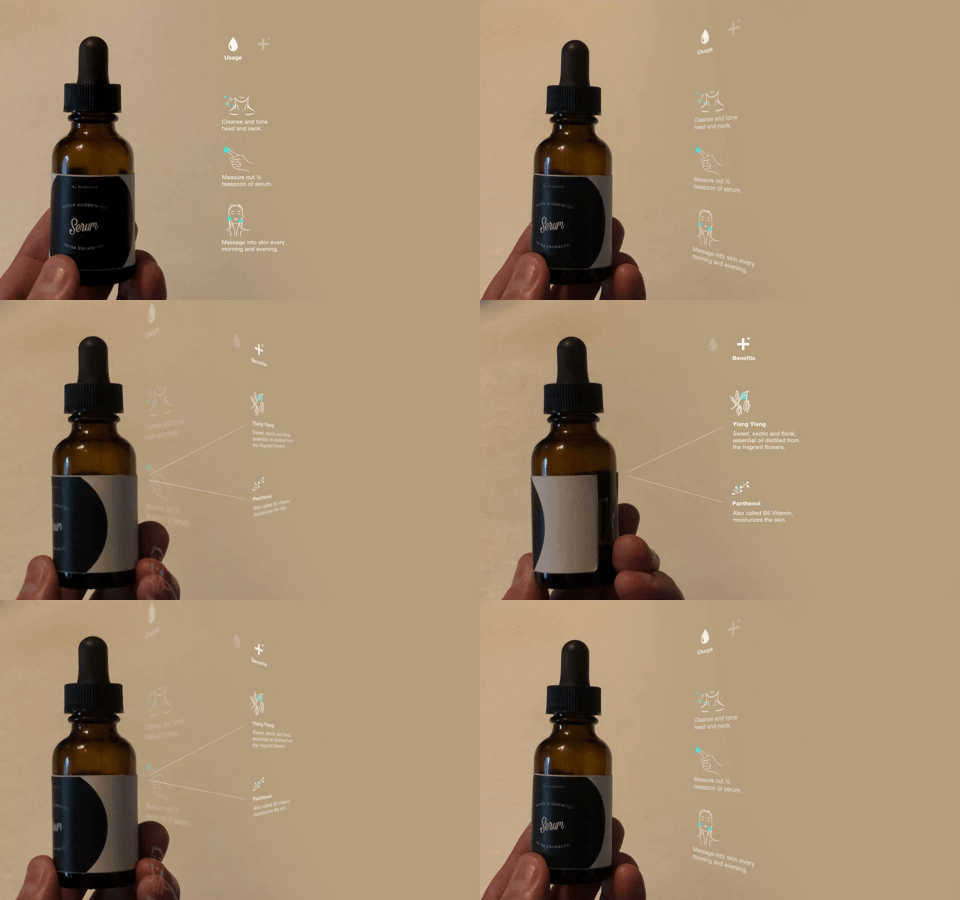
In a previous blog post we shared how we are building a Contentstack-powered Augmented Reality proof of concept in 4 weeks. The concept so far: We are building an application that will take some complex information from a beauty / skincare product and make it easier to understand through augmented reality and personalization. In this post we will share what we went through during the first week.
This week we are covering: Researching web AR frameworks & graphics libraries; determining the best way to do marker tracking; narrowing down the use case and developing the interaction design.
Narrowing down the use case & interaction design
In order to figure out what we wanted the AR experience to look like, we had to first figure out the following:
1. What problem are we solving for customers?
2. What specifically are we going to demonstrate in our POC?
3. What data are we going to display?
5. What is the interaction model?
After doing a quick but thorough deep-dive into the world of skincare, we realized that of all the available skincare products, serums were particularly confusing.

We also realized that the value of an application like this could be improved if we went beyond just helping people choose products from a shelf on the store, and instead offered several interactions with one product over time: helping people to choose it, showing how to use it when they got home, and offering personalized suggestions after some time using it (e.g. changing concentration of the active ingredients).
Researching web AR frameworks & graphics libraries
Before starting work on any AR project, we identify the parameters. Part of that means identifying the AR framework and graphics library.
We chose Ar.js, since it's the best we could find for building AR for mobile web browsers and A-frame.js as an HTML wrapper for Three.js.
Marker tracking
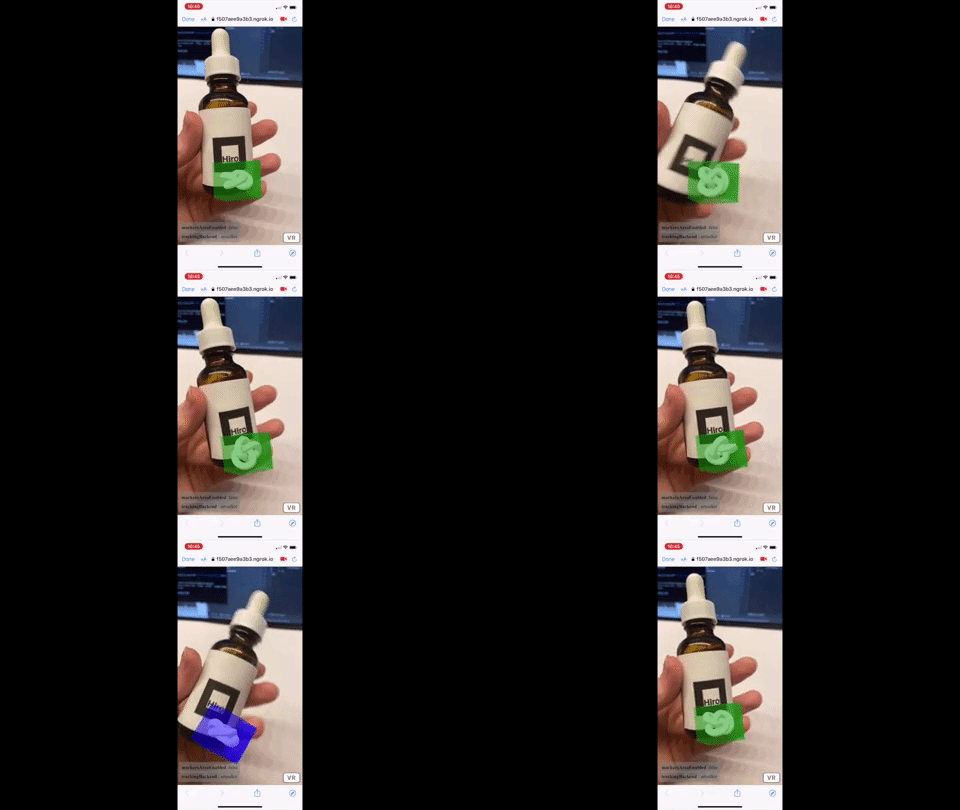
A surprisingly sticky task in Ar.js is making it work when both the virtual camera and the marker (e.g. product bottle) are moving around and not static.

We tested a bunch of different ways to make this work. In the end, the best option was to use fiducial markers which are easier for the camera to recognise, and to program A-Frame to calculate the velocity of the marker's movement in order to determine what to display. And we are happy to report that it worked!
Stay tuned for more insights from week 2 of developing our AR demo - get the background here.


